Updated August 29, 2022
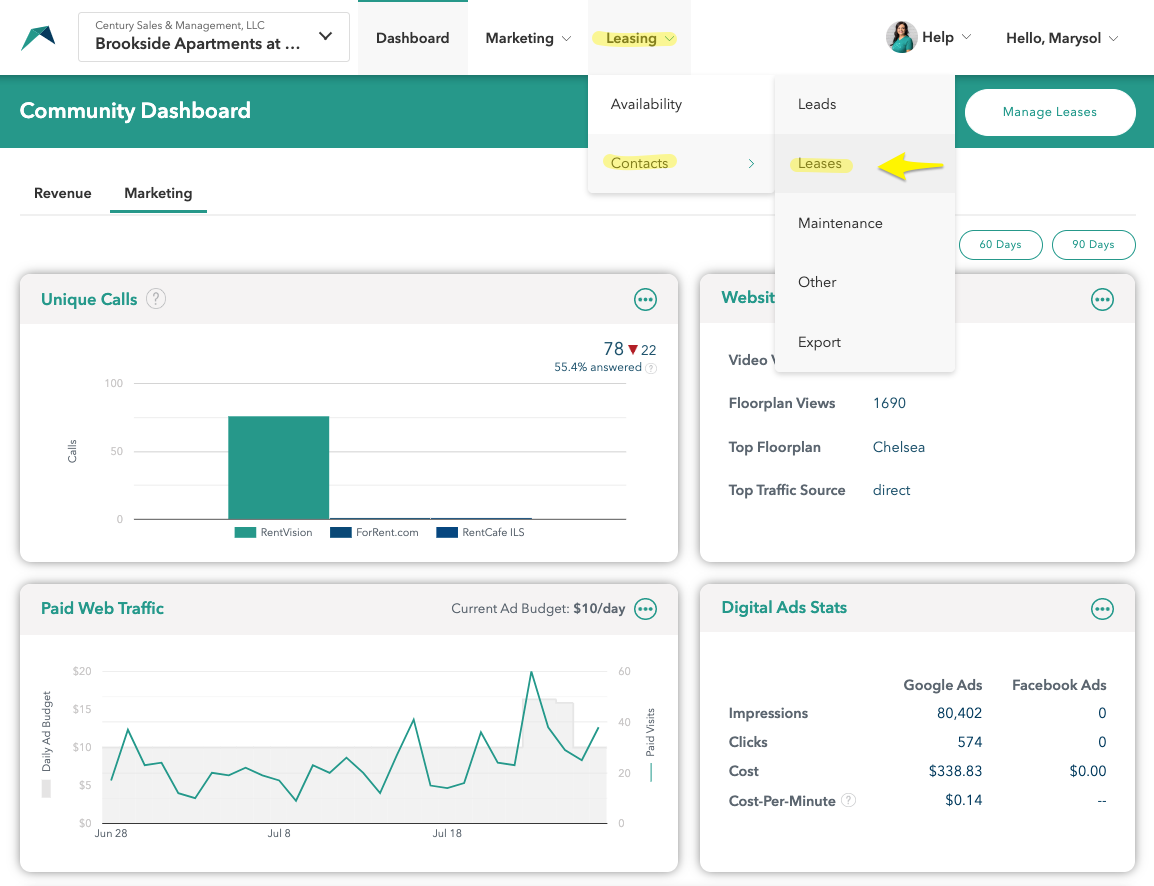
Log into the RentVision Platform. From the dashboard, you will want to hover over the "Leasing" tab at the top of the page. Then you will hover over the “Contacts” tab and click on the “Leases” subtab from there.
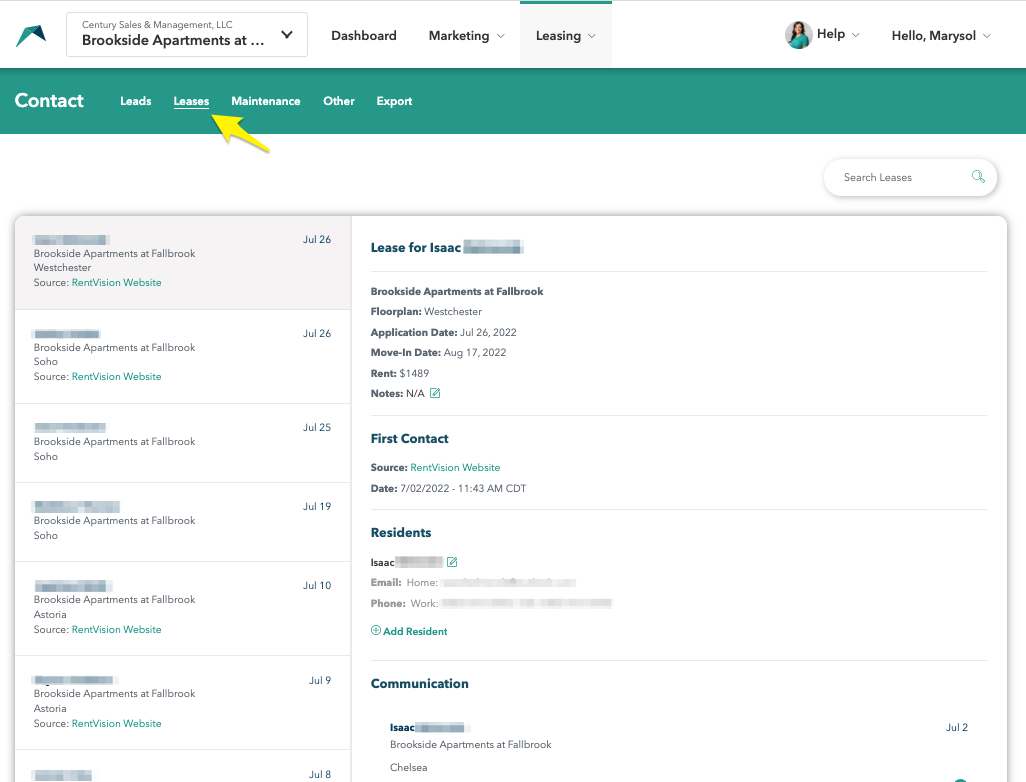
After you get to the Contact page, you will automatically be taken to the "Leases" tab.
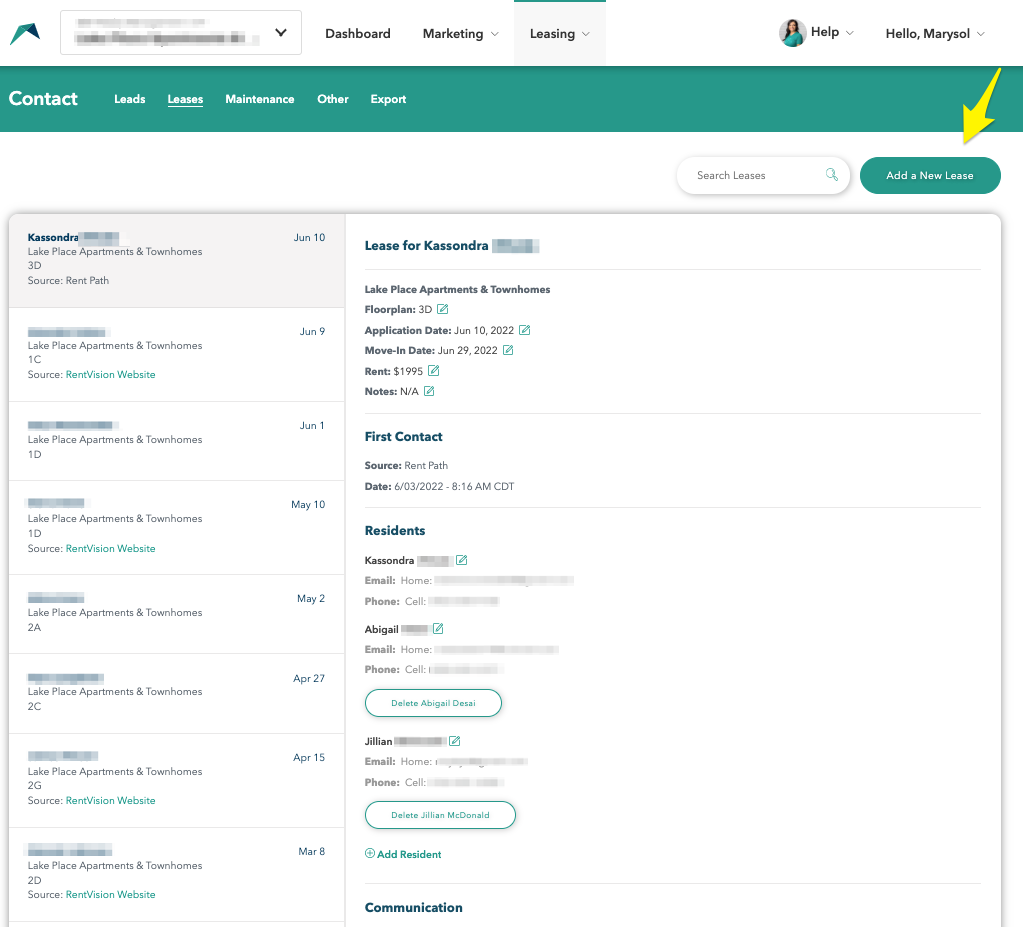
You will be able to view any leases currently uploaded into the RentVision Platform, and to add any new leases that come in. Click the Upload Lease button located in the top right corner of the screen to add a new resident to the system.
After you have clicked on "Add a New Lease" a pop-up will appear where you can add the new resident's information. It is important to ONLY complete this step once an individual has 1) applied, 2) been approved, and 3) moved in. We want to track current residents, not potential future residents.
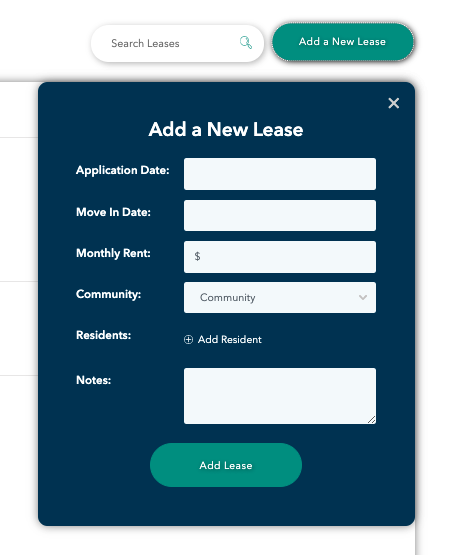
Here you will fill out all of the information on your new resident.

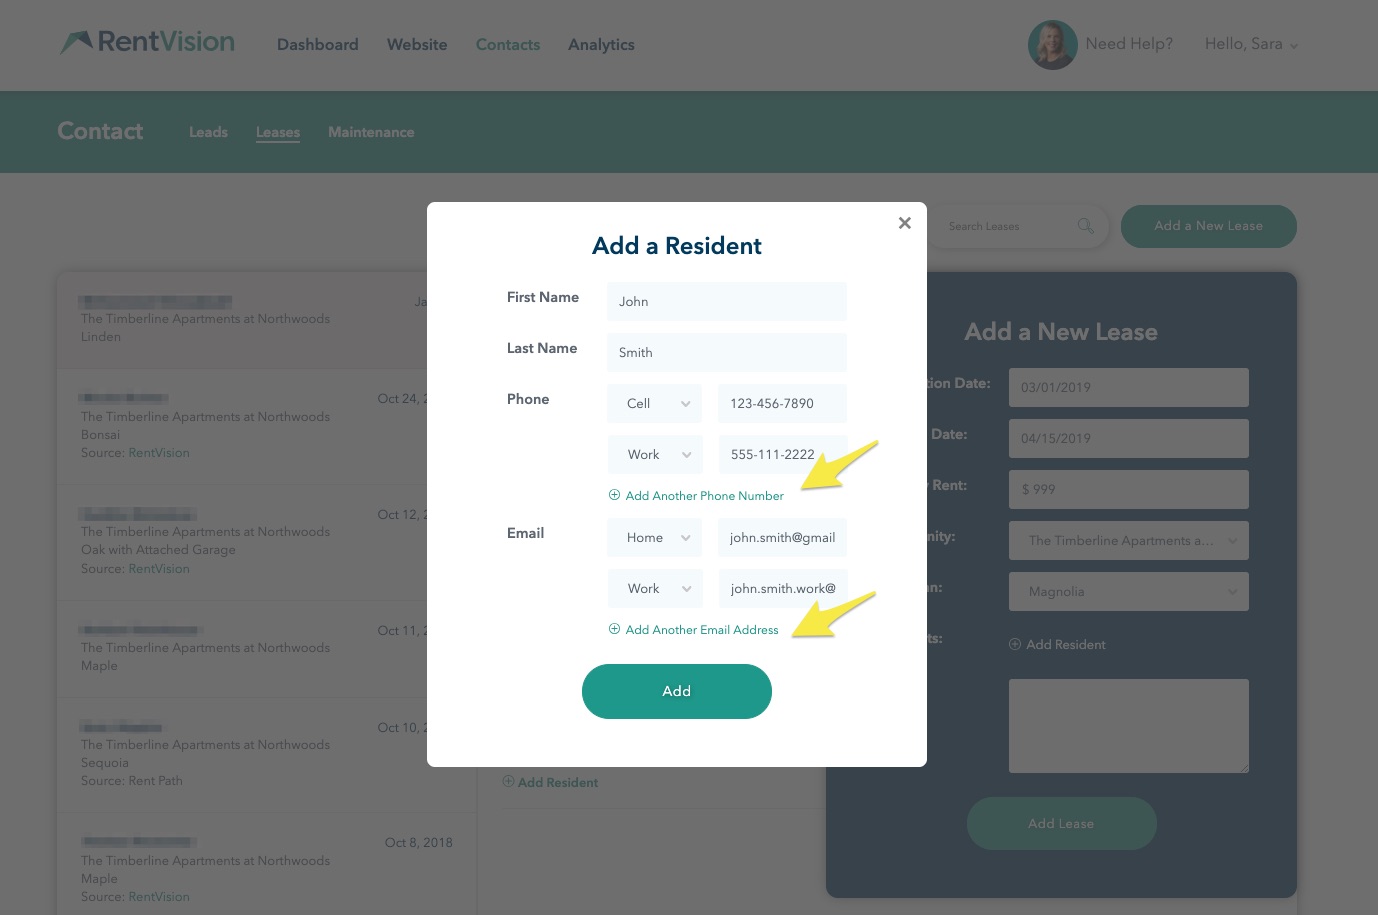
After you begin filling out the information, you will notice that an "Add Resident" tab will appear. Once you click that button, a new pop-up will appear. It is very important to fill out every piece of information on this page; including every phone number and email address they provide you with.
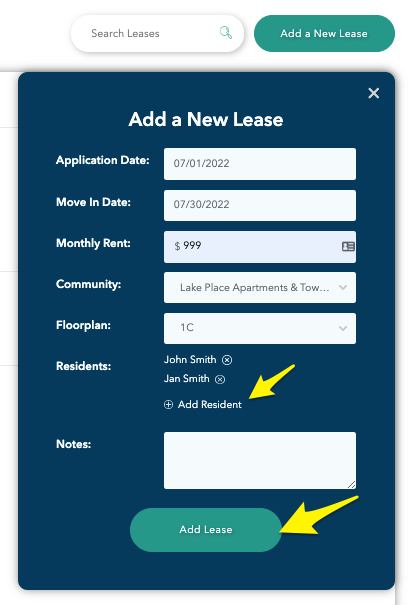
Once you finish updating your first contact, make sure to continue this process until you have inputted the information of each individual living in that unit. If you look at the screenshot below, we have included John and his wife Jan. After you are finished, click the "Add" button.
We recommend adding this task to your Move-In Day checklist, as you will already have the new resident's information handy.